How to Properly Use Jumper Cables: Essential Guide for Safe Car Maintenance in 2025
In the realm of vehicle maintenance, understanding jumper cables and their proper use is essential for every car owner. In 2025, with technological advancements and evolving car models, knowing how to jump start a car safely can save you from stressful situations. This article will provide an in-depth guide on how to use jumper cables effectively, ensuring that you are equipped to handle any car battery issues that may arise.
Understanding Jumper Cables and Their Functionality
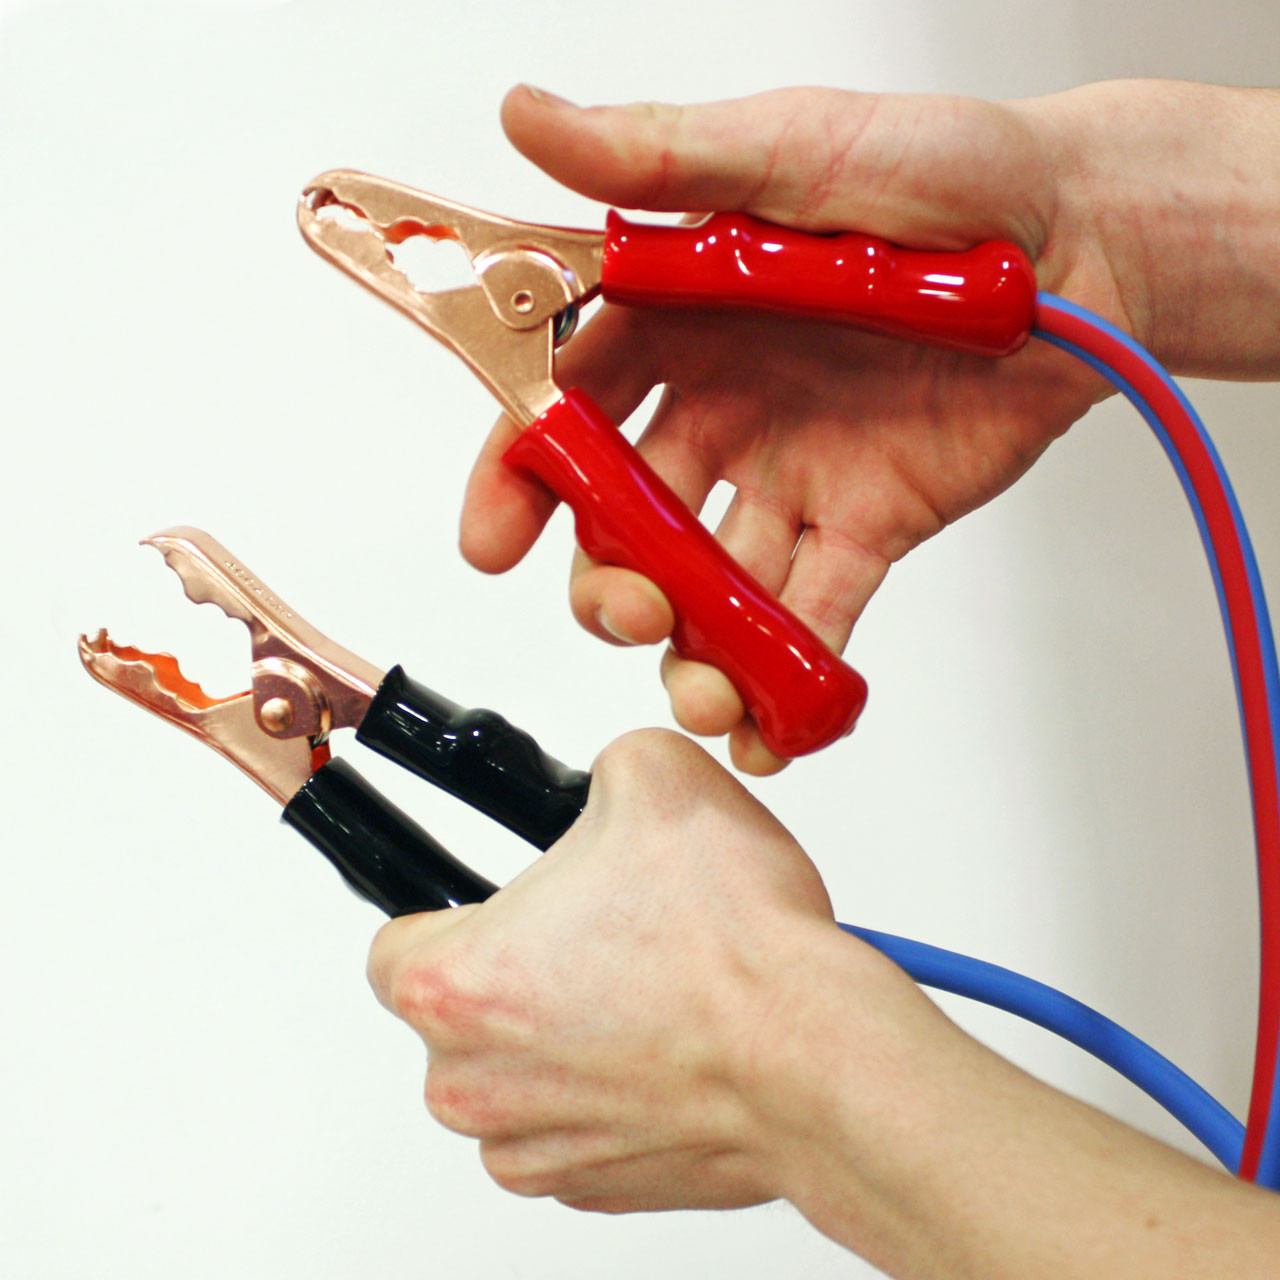
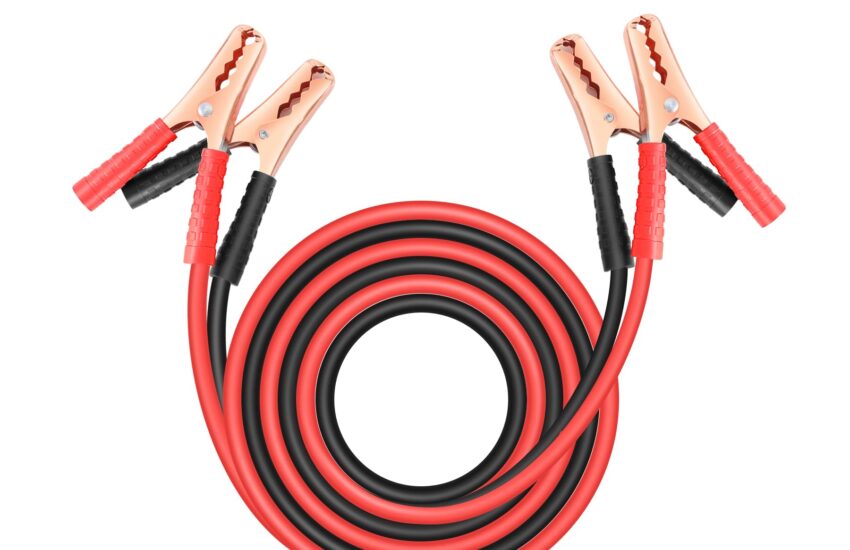
Jumper cables are an indispensable tool in car maintenance. These heavy-duty insulated wires allow you to connect a dead car battery to a charged one. Through this parallel connection, power is transferred from the functional battery, allowing you to jump start a car with a drained battery. Understanding the anatomy of jumper cables and their operation is crucial for safe usage. The cables typically have two terminals: positive (red) and negative (black). Proper identification and connection of both terminals during a jump starting procedure are vital to prevent potential hazards.
Types of Jumper Cables
When it comes to selecting automotive jumper cables, there are various types available in the market. Most commonly, you will find cables that vary in length, gauge, and the maximum amperage they can handle. The thickness of the wire (gauge) plays a critical role; lower gauge numbers indicate thicker wires that can transfer more current efficiently. When choosing your cables, look for those that have a minimum of a 4-gauge thickness for optimal performance in starting vehicles. Brands like NOCO and Jump-N-Carry have reputable options for those who often deal with car battery jump situations.
Correct Connection of Jumper Cables
One key aspect of effectively using jumper cables is ensuring the proper connection of both the positive and negative terminals. First, you’ll want to connect the positive terminal of the dead battery (usually marked with a + sign) to the red cable. Then connect the other end of the red cable to the positive terminal of the live battery. Following this, the negative terminal of the live battery needs to be connected to the black cable, and then the other end of the black cable should be attached to a metal, unpainted surface on the car with the dead battery. This final step is crucial as it helps from causing sparks around the battery terminals, ultimately enhancing battery safety during the jump start process.
Emergency Jump Start Procedures
In case of a dead battery, knowing the proper emergency jump start techniques can be lifesaving. There are structured steps that one must adhere to during this process. A straightforward guide will simplify the jump starting process, making it accessible even for novices. Here, we outline the essential jumping battery instructions to ensure safe vehicle startup.
Initial Setup for Jumping
Before initiating the jump start, ensure that both vehicles are parked close enough so that the jumper cables can reach comfortably. Turn off the engines and activate the hazard lights to signal any nearby traffic. To maintain safety, both vehicles should be in park or neutral, and have their hoods open. To begin, inspect both batteries for any cracks, leaks, or corrosion around the terminals. Such issues can complicate matters when you attempt to connect jumper cables.
Steps to Jump Start a Car
- Start with the red cable by attaching it to the positive terminal of the dead battery.
- Next, connect the other end of the red cable to the positive terminal of the live battery.
- Attach the negative cable to the negative terminal of the live battery.
- Finally, connect the other end of the negative cable to an unpainted metal surface on the dead car; this helps reduce the risk of sparks near the battery.
- At this point, start the vehicle with the live battery, and let it idle for a few minutes before attempting to start the dead vehicle.
Once the dead vehicle starts, carefully remove the jumper cables in the reverse order of connection. This procedure is essential to maintain safety during jump starter usage.
Common Jump Start Mistakes and Safety Precautions
Even the most seasoned drivers can make mistakes when using jumper cables. Recognizing common errors and understanding safety protocols can prevent damage to vehicles and ensure the effectiveness of the jump start. Not following proper precautions can lead to lasting impacts on your car’s battery life and overall vehicle maintenance.
Common Mistakes When Jump Starting a Vehicle
One of the most prevalent mistakes during the jump starting process is reversing the cable connections, which can damage the electrical systems of both vehicles. Additionally, failing to secure a solid connection can lead to inefficient power transfer and ultimately lead to unsuccessful attempts at starting the vehicle. Another mistake is jumping vehicles without reading the owner’s manual. Each car may have specific precautions, and consulting the car owner’s manual can prevent unnecessary complications.
Safety Measures to Implement While Jump Starting
Establishing a jump start safety checklist is an excellent way to foresight potential problems while conducting a jump start. Ensure you always use high-quality jumper cables and that the battery terminals are clean and free of corrosion. Also, check that the vehicle battery maintenance is up to date, as old batteries pose significant risks during jump starts. It’s also advisable to wear gloves during the procedure and ensure that spectators are kept a safe distance from the area.
Knowing When to Seek Professional Help
While understanding how to effectively use jumper cables is crucial, there are circumstances in which you should consult professionals. Troubleshooting car battery issues can be complex, and attempting to diagnose a problem without the proper tools and knowledge can lead to more severe vehicle problems. Suspicion of serious battery failure or recurring issues where jump starting becomes necessary frequently warrants professional intervention.
Indicators of Serious Car Battery Problems
Any signs of swelling, leaks, or unusual smells from the battery should raise red flags. You should also be cautious of constantly having car battery issues that need frequent jump starts. Additionally, a battery over three years old may not hold a charge as effectively and requires checking as part of your vehicle’s regular battery health checks.
Professional Battery Services
Today, many repair services offer diagnostic services and battery replacement advice. Such services evaluate battery health, charging capacity, and overall vehicle electrical systems. In many cases, they can assist you with proper jump start techniques and give insights into preserving battery life. If basic jump starting doesn’t succeed, calling a professional can save time and money down the line.
Key Takeaways
- Always identify the positive and negative terminals before connecting jumper cables.
- Review jump start procedures and common mistakes to enhance safety and success.
- Maintain your vehicle’s battery with regular checks to extend its lifespan.
- Know when to call for professional help if battery issues persist.
FAQ
1. What should I check before using jumper cables?
Before using jumper cables, inspect both batteries for any visible damage such as cracks or leaks. Also, ensure the cable clamps are clean and free of corrosion, as poor connection can affect the jump start process.
2. How can I avoid common jump start mistakes?
To avoid mistakes, strictly follow the order of cable connection: positive terminal to positive terminal first, then negative. Always double-check that you are connecting to the correct battery terminals to avoid short circuits.
3. Can I use jumper cables if my battery is leaking?
No, if your battery appears to be leaking, it is essential to avoid jump starting it. Leaks indicate serious damage, which can cause hazardous situations. Remove the battery and consult a professional for replacement.
4. How long should I leave the batteries connected during a jump start?
After properly connecting jumper cables, leave them attached for approximately 5 to 10 minutes. This should allow enough time for the dead battery to receive an adequate charge before attempting to start the engine.
5. What are some tips for maintaining my car battery?
Regularly check battery terminals for corrosion and keep them clean. Ensure the battery is secured correctly to avoid vibration and stress. Periodically test the battery’s charge to ensure optimal vehicle performance and longevity.
6. What if my car still won’t start after using jumper cables?
If your vehicle does not start after a jump, it could indicate a severely drained battery or a problem within the electrical system. It’s advisable to seek professional diagnostics and assistance in such scenarios.
7. Is using a battery jump starter the same as using jumper cables?
While a battery jump starter serves the same purpose, it does not require another vehicle. It’s a portable device that can jump start your car independently, providing greater convenience in emergencies.